My Sourdough Bread Recipe
My go-to recipe for easy and delicious sourdough ✨
For the last few months, I’ve been in my sourdough era ✨. I’ve been having so much fun experimenting with different hydration levels, flour types, and inclusions.
I was intimidated to start making sourdough for a long time, but now that I have a healthy starter and a recipe I love, I can’t stop baking. Lately, I’ve been making two to four loaves a week. I usually slice my sourdough and store it in the freezer, then toast it when I want a piece, it’s easier to digest that way and causes less of a sugar spike. I also love gifting loaves to friends.
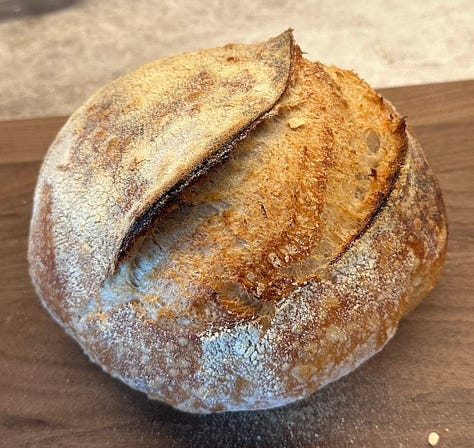
You don’t need all the fancy tools (though they’re nice to have). You can make amazing sourdough with what you already own: a bowl lined with a tea towel instead of a banneton, and a knife instead of a lame. The only thing that really matters is having a Dutch oven: that’s what gives your loaf its beautiful spring and golden crust.
The Recipe
Ingredients
420g bread flour
80g whole wheat flour
330–350g water (start lower if you’re new to sourdough)
100g of sourdough starter
8g salt
You’ll also need
A bowl lined with a floured tea towel (or a banneton if you have one)
Semolina flour for dusting
A Dutch oven
A lame (or a serrated knife) for scoring
Timeline & Instructions
I usually start around 12PM the day before I want to bake and then bake the loaf the next morning around 9AM.
12:00PM – Feed your starter
Feed your starter at a 1:1:1 ratio (equal parts starter, flour, and water), using whole wheat flour for extra strength and activity. Let it rest for 4–6 hours, or until it’s doubled and bubbly. (I keep my starter in the fridge during the week and only take it out the day before baking. I don’t keep much, about 50g, just enough to refresh easily without waste.)
4:00PM – Autolyse (the flour + water rest)
Mix 420g bread flour, 80g whole wheat flour, and 330g water in a large bowl. Let it rest 45–60 minutes to hydrate and develop gluten.
5:00PM – Add starter and salt
Mix in 100g of your active starter and 8g salt to your flour and water mixture until fully incorporated.
5:45PM–9:30PM – Folds
Cover and perform four sets of folds, 45 minutes apart. Each time, gently stretch and fold the dough over itself to build strength and structure.
9:30PM – Shape
Once the dough has bulked up and feels airy, it’s time to shape it. If you’re adding inclusions, this is when I fold them in. I lightly flatten the dough into a rectangle, fold the short sides over each other, and then gently roll the dough toward me to create tension on the surface. Finally, I place the shaped dough upside down into a floured, tea-towel-lined bowl (or a banneton if you have one).
9:30PM – Cold ferment
Cover and refrigerate overnight for 12–18 hours.9:00AM the next morning – Bake
Preheat your Dutch oven at 475°F (245°C) for 45 minutes.
Dust the dough with semolina, score the top, and carefully lower it into the pot.
Bake 20 minutes covered, then reduce the temperature to 450°F (230°C) and bake 30 minutes uncovered, until the crust is deep golden and caramelized.
9:00–10:00AM – Cool
Let your bread rest for at least 1–2 hours before slicing.
Tips & Variations
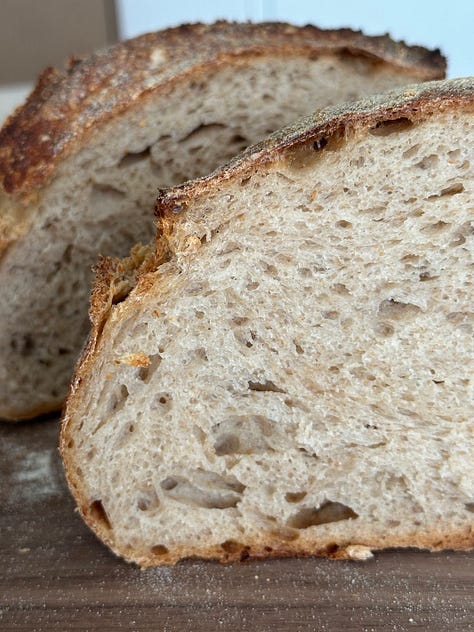
Hydration: Start with 325g of water if you’re new. More hydrated doughs are trickier to handle but yield a more open crumb once you’re comfortable.
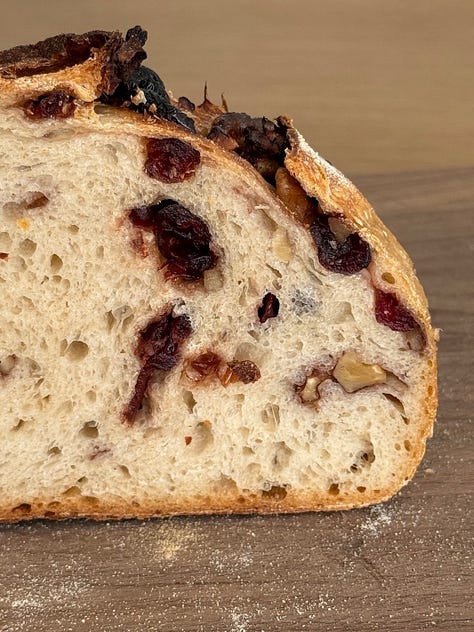
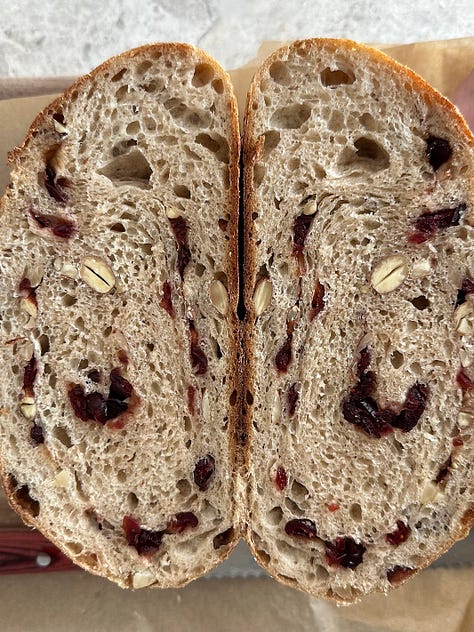
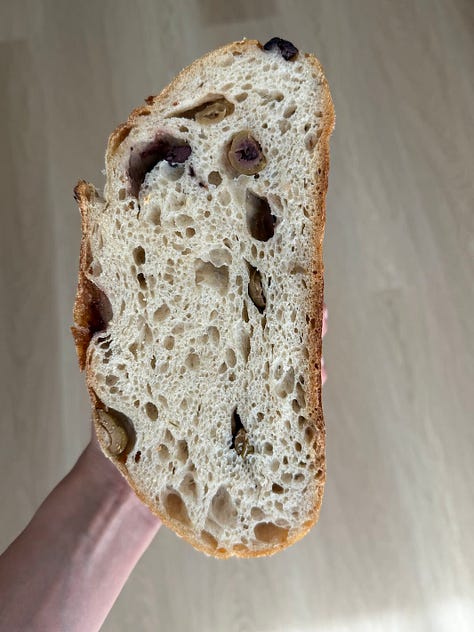
Inclusions: Some of my favorites so far: cranberry + walnut, olive, and chocolate walnut. I have a long list of others I want to try next.
Starter care:
Keep your starter in the fridge during the week.
Don’t keep too much: 50g is plenty to feed and build up when needed.
The day before baking, take it out and feed it with whole wheat flour.
Example: if you want to bake at 8AM Sunday, feed your starter Saturday at 1PM.
Get your starter from a local bakery or a friend. Once you have it, you can keep it alive indefinitely with regular feedings.
Feed your starter with whole wheat flour. I find that the results are best when I do this.
Adjusting for your starter:
Depending on your starter, you may need to tweak the suggested times in the recipe. You’ll know your starter is ready when it doubles in size and floats in water, typically 4–6 hours.
If your starter isn’t super active, you may need to do an extra feeding before making bread.
Let me know if you do try this recipe and make your own sourdough!
Here are some of my loaves ✨
